How To Setup A Middleman Blog For Free With GitHub Pages
Steps on how to code and setup a Middleman Blog on GitHub Pages from scratch, for free.
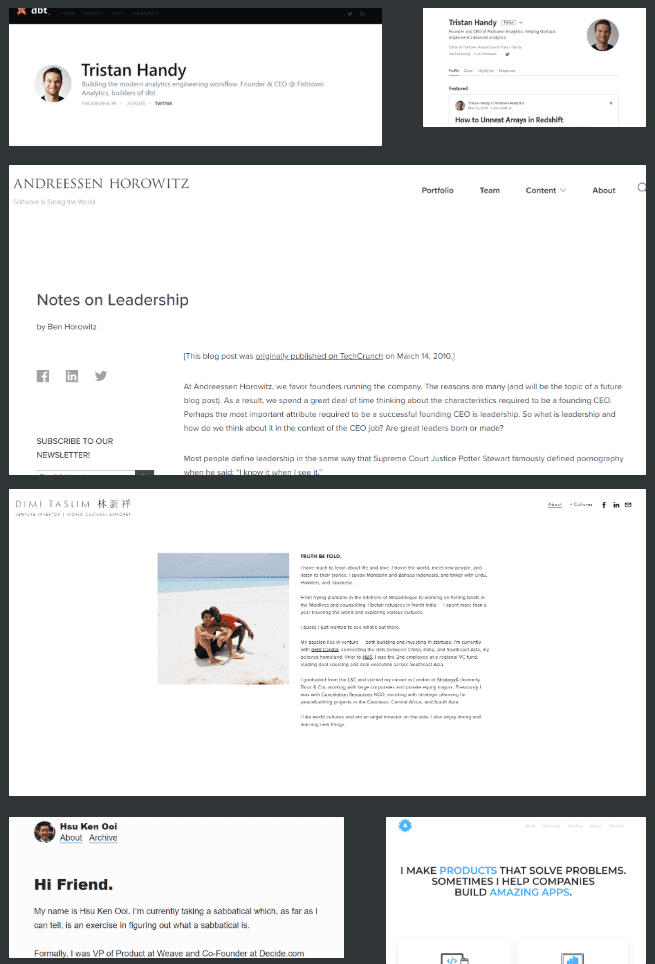
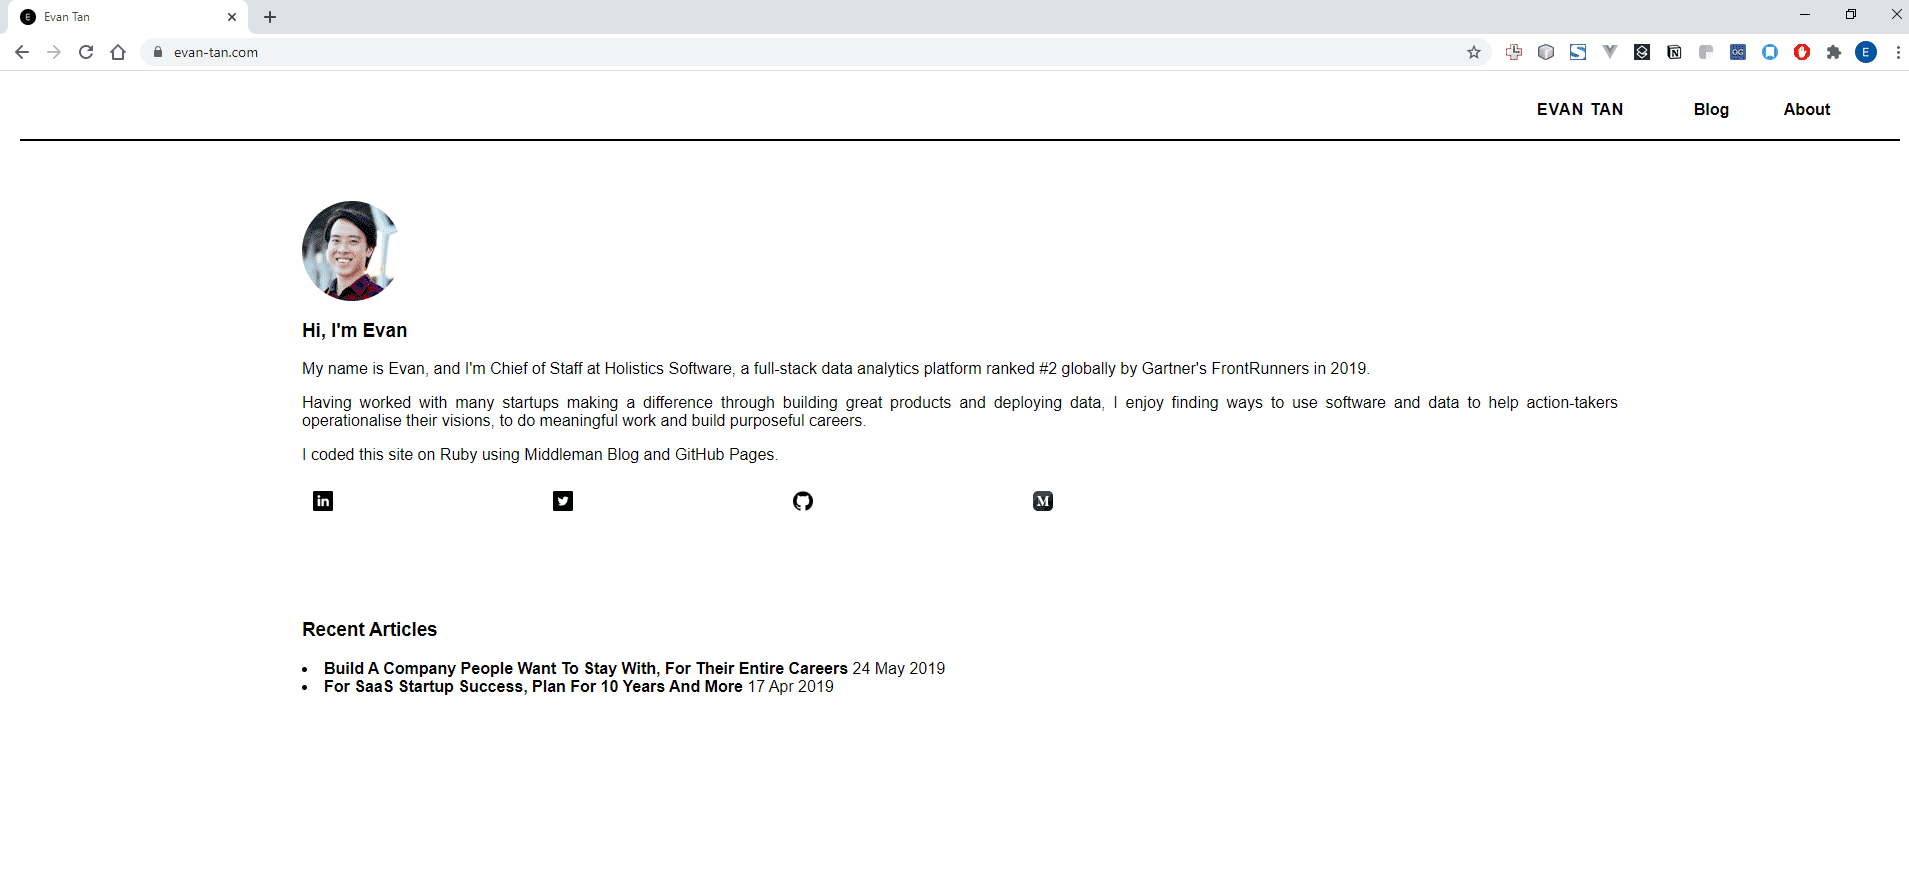
By Evan Tan I had been toying with the idea of setting up a personal website or blog for some time, and thanks to my work in a tech SaaS startup, I had been exposed to tools such as Middleman (a static site generator) which we host on Github Pages (for free!). I wondered how doable it would be to code and setup a website myself from scratch. After a quick search online and finding several useful guides outlining the required steps, I decided to give it a shot. It took me about a weekend to get the first version up and running, which was really fulfilling and a personal milestone in my amateur coding journey. I’m documenting the major steps I took here, as well as how I managed to troubleshoot some errors I ran into, so that it can hopefully be a useful updated guide to others that might want to try this fun project out as well! This article assumes some familiarity with working with the terminal, Ruby on Rails, HTML, CSS and JavaScript. First up, I gathered some ideas for how I wanted the blog to look, here were some of my visual references. I was able to follow most of the setup steps listed here by Adrian Ching, which helped me get my bearings pretty quickly. You’ll need to have Ruby on Rails installed on your terminal (I use Bash on Ubuntu), if you haven’t you can follow these steps here for Windows 10. Here are the important code steps to get started: Rename Somehow I ran into the error below when I first tried to run my localhost server. The fix for me was to add this line to my gem file: Middleman’s documentation was really helpful for me to make sense of things as I went along, I recommend browsing through the sections, to better understand their concepts such as partials. This is the fun and frustrating part of the process. I patched together a lot of different pieces by watching YouTube videos of how people styled elements on their sites, how to troubleshoot CSS and padding issues, building a header banner etc. I’ll share some of the links I used here, and you can basically just clone my github repository if you’d like a base to start with and a fast way to get up and running (would appreciate a credit on your site if you do use it for a live blog!). The Middleman command for setting up articles is: When it came to working with features specific to Middleman Blog, this guide by Violet proved really instructive. I had written some articles on Medium, and was wondering if there was a simple way to move it across to my Middleman Blog. This package here was a great discovery, I highly recommend it! When it comes to updating gems, just add in or change the version in the gemfile, then run Activate Follow the steps listed in this article here to setup your Git and prepare your blog to be deployed, the important code block to add to This will utilise the You are now ready to push your blog from your local to your source branch on GitHub. Make sure you have setup your SSH keys correctly, and that you have correctly assigned the remote branch to your local repository. You can now push your local changes to your master branch on GitHub, and deploy the changes to go live. That’s it! Refresh your page, and you should soon see your changes live on the web. Congratulations! You’ve built and launched a Middleman blog on GitHub Pages, from scratch! Bonus points if you decide to purchase your own web domain, and to serve your GitHub page from there instead. If so, this Hacker Noon guide will be your friend.
Published
28 Jun 2020
Step 1: Decide how you want your blog to look
Step 2: Setup Middleman
gem install middleman-blog

## Followed by
middleman init my_blog_project --template=blog

## Change directory to your blog project
cd my_blog_project

## Run your blog on your local machine
bundle exec middleman server
my_blog_project to your choice of project name for your blog. You should now be able to access your Middleman blog site by visiting http://localhost:4567. This lets you test out running your Middleman blog on your local machine, and it’s also where you’ll be able to check that your work and changes to your HTML, JavaScript and CSS are appearing correctly. Personally, I use Atom as my code editor, and it’s all I’ve needed so far! Shut down down your localhost server with CTRL+c.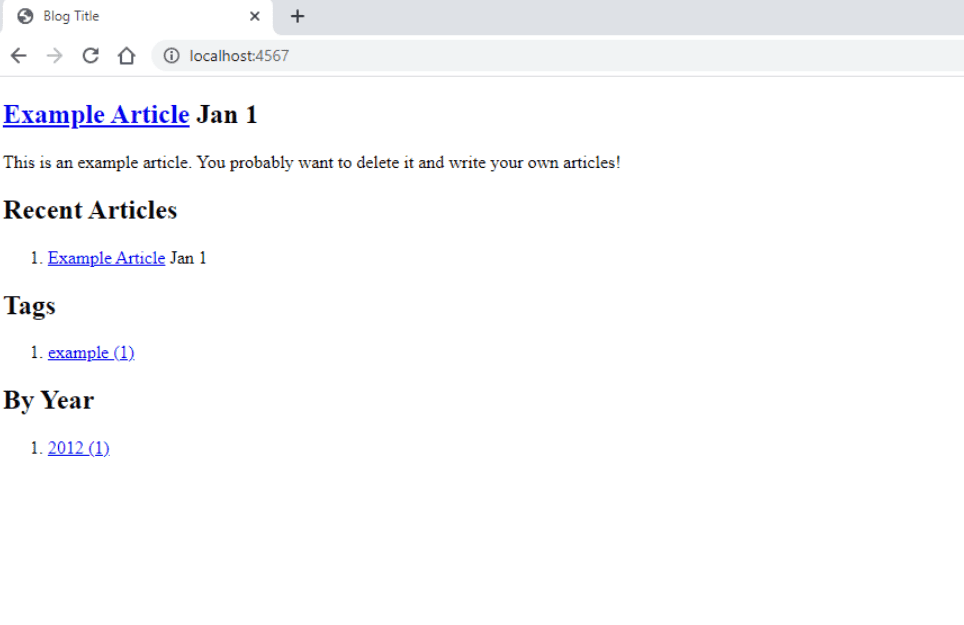

gem 'middleman-autoprefixer'. Personally I’m not entirely sure why this worked for me, but I’m sharing this to help any one who might get stuck here.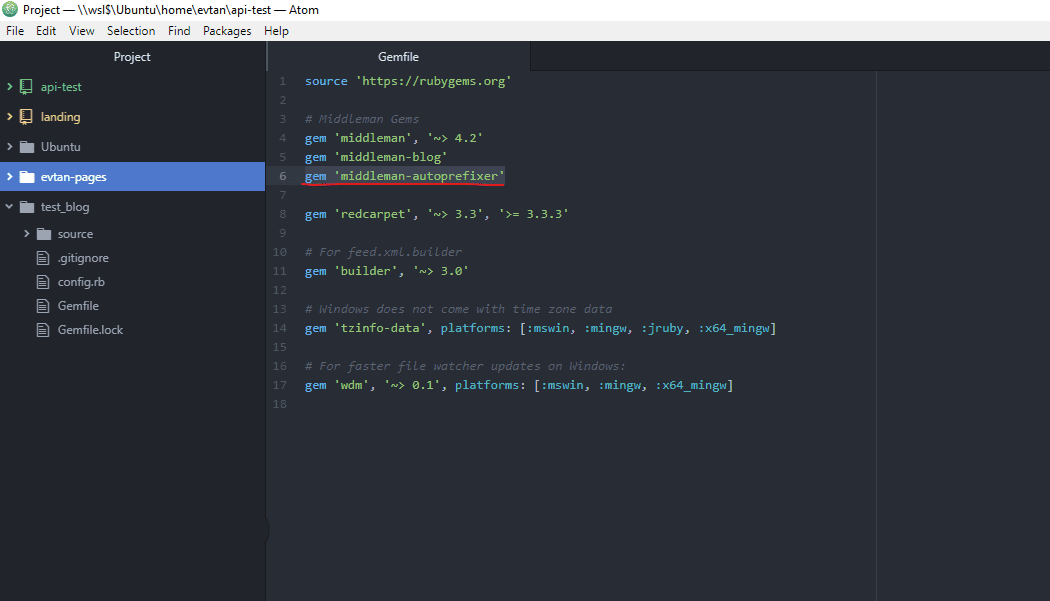
Step 3: Build your blog
middleman article "Title of Blogpost"
bundle install Two useful gems that you’ll need are:gem 'middleman-livereload'
gem 'middleman-deploy', '~> 2.0.0.pre.alpha'
livereload by adding this code block to your config.rb file. I’ll explain how to setup the middleman-deploy gem in the next section.configure :development do
activate :livereload
end
Step 4: Deploy your blog to go live
config.rb is the following:activate :deploy do |deploy|
deploy.deploy_method = :git
deploy.branch = 'master'
end
middleman-deploy gem that you added previously.
Running build will setup the build folder, and allow you to navigate to the blog articles you just created when on Middleman server.bundle exec middleman build
## OR
middleman build
## Check branches available
git branch

## Push to source branch, replace the account and repository here with your own GitHub details
git push git@github.com:evtan/evtan.github.io
git push --set-upstream origin source
middleman deploy
Recent Articles
- Individuation and the Will to Meaning 11 Nov 2024
- Contemplating the Infinite under Finite conditions 2 Jun 2023
- How I Overcame GMAT Critical Reasoning Questions - Reasoning from first premises 29 Oct 2022
- Hello world, from Centroly 25 Jul 2021
- How To Setup A Middleman Blog For Free With GitHub Pages 28 Jun 2020
- Build A Company People Want To Stay With, For Their Entire Careers 24 May 2019
- For SaaS Startup Success, Plan For 10 Years And More 17 Apr 2019
- Present(ing) Futures 1 - The future Singapore economy 4 Apr 2016